

Beschreibung
The more you get into the topic of SmartHome, the more you ask yourself how you can bring all this data into your normal life in the most convenient and attractive way possible.
One solution to this problem is my MagicMirror project. I have another one thanks to Madalena (https://github.com/Madelena) when I came across your GitHub repo a few months ago (https://github.com/Madelena/esphome-weatherman-dashboard).
After I have expanded the project a bit, the Ikea Ribba eInk frame insert came out with which a battery-powered E-Ink display can be set up, which receives the data from a Home Assistant instance.
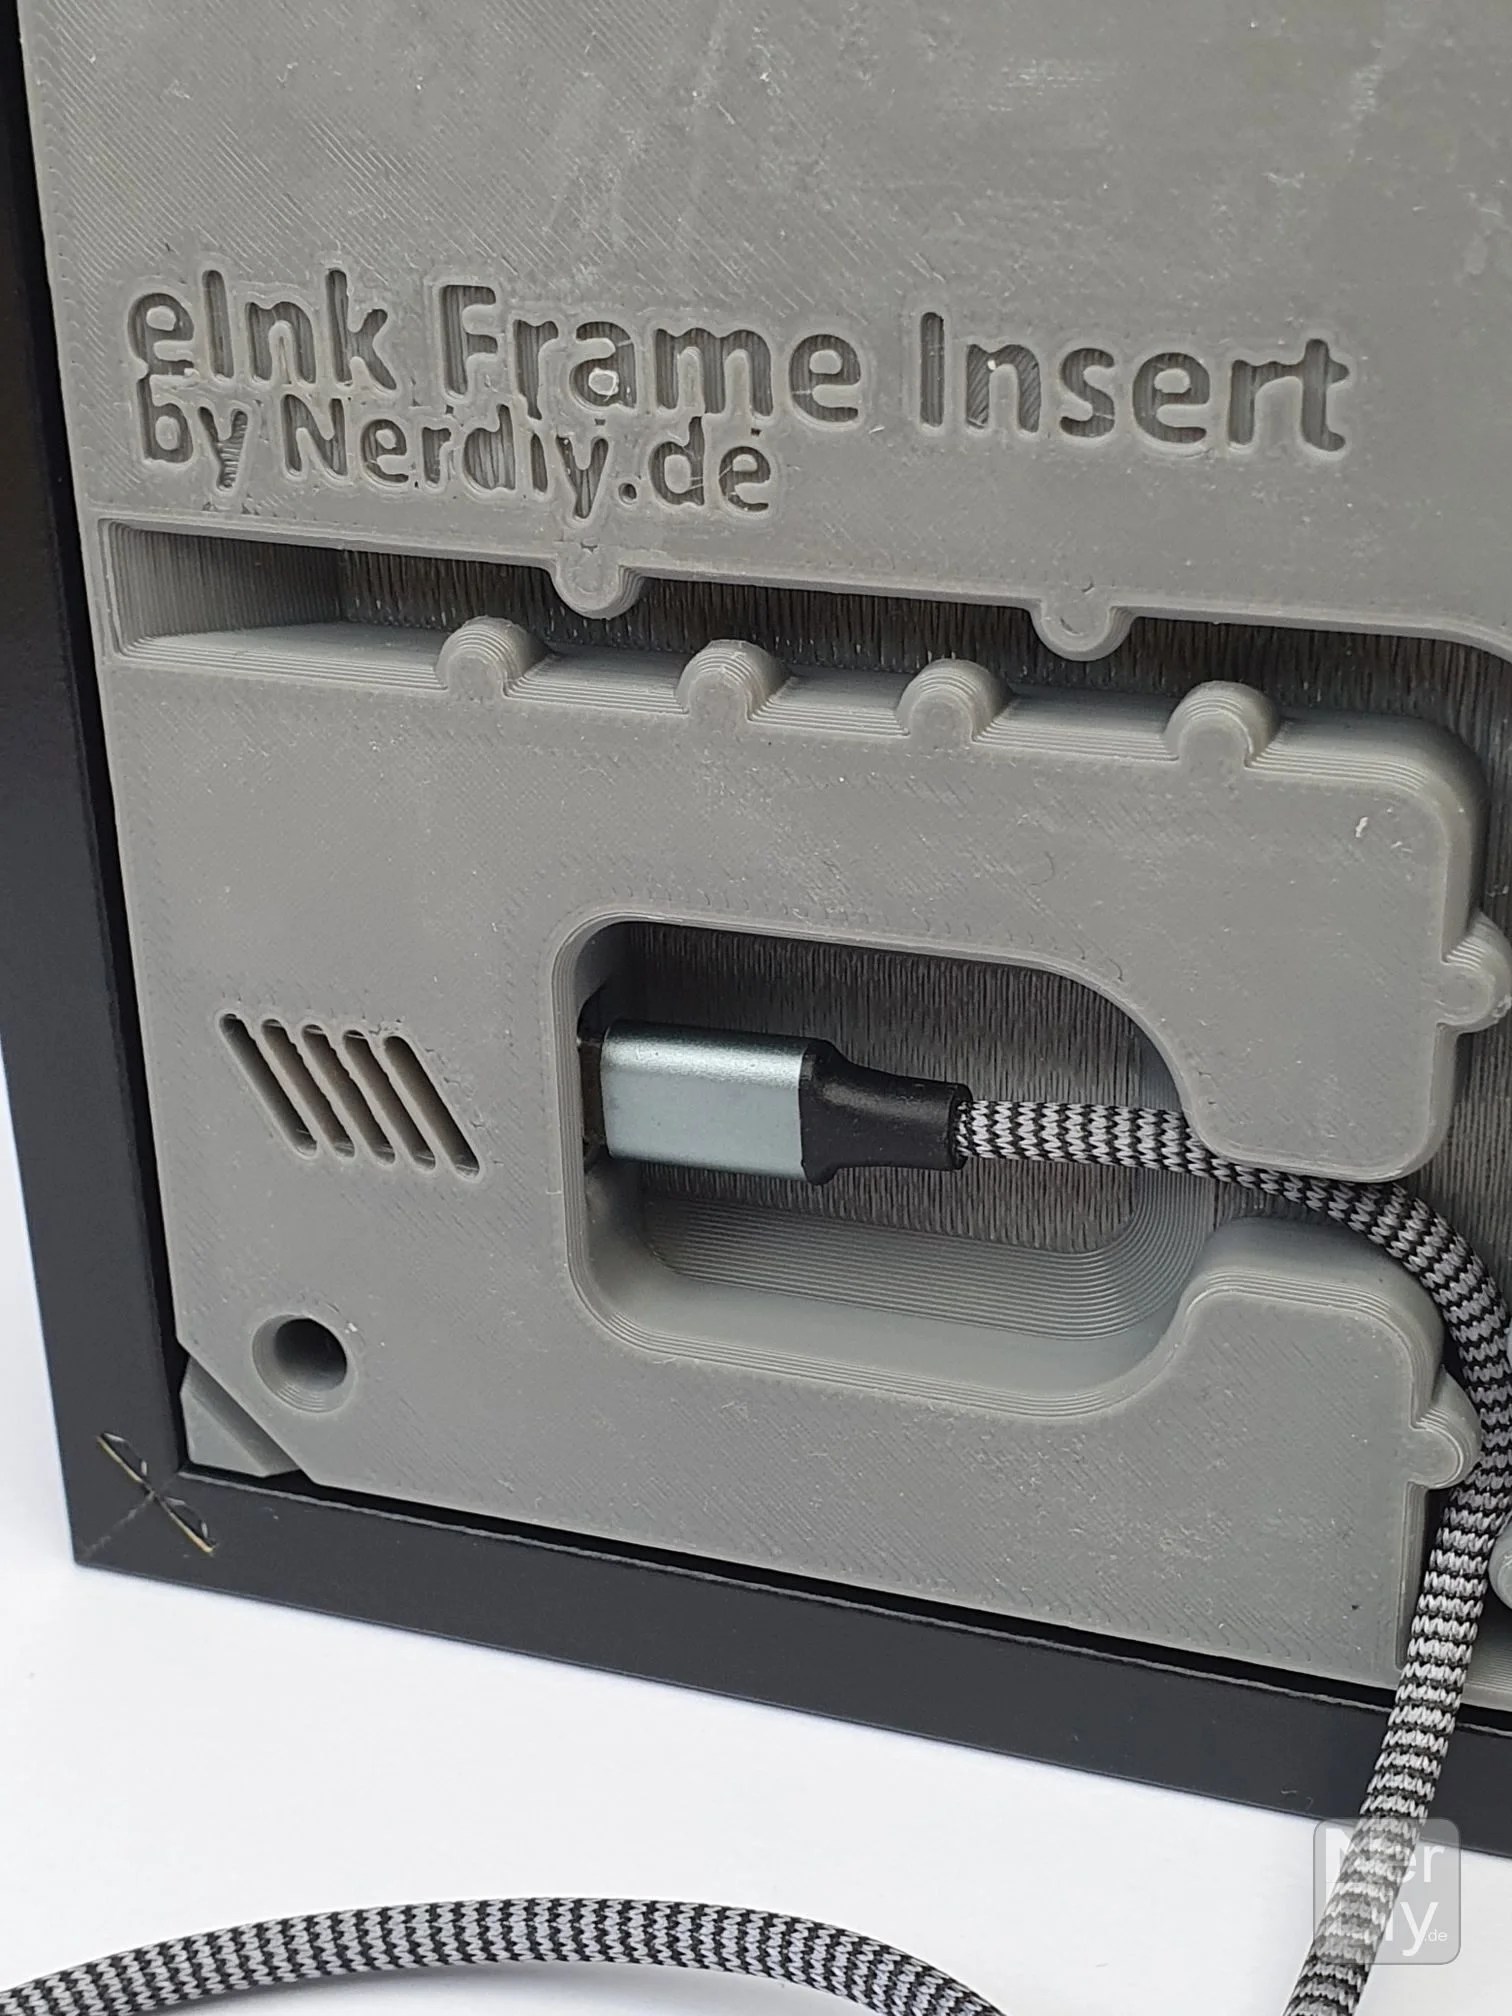
In order to simplify the hardware setup of the Ikea Ribba eInk display, I have created a 3D printable insert with which the eInk display and the complete electronics can be installed precisely in the Ikea Ribba 5″x7″ frame used.
Case features:
- Precise fit: Our carefully designed STL files enable the Waveshare E-Ink display to be integrated precisely into the Ikea Ribba frame.
- Creative design: The design and the scope of the displayed data can be customized as desired. The published code can be used as a template.
- Simple assembly: There are several options on the back of the frame insert to enable the frame to be hung vertically or horizontally. The frame can also be permanently supplied with power thanks to the built-in cable recesses.


Please note: No physical components will be sent. You will receive the files in STL format and must print them out on a 3D printer in order to build the project.
This offer includes the STL files you need to print the 3D printable components for the eInk Frame application required.
- You will soon find further information on the assembly and other components required in the assembly article. It will be linked here as soon as it is published.
- Observe the safety instructions linked below during assembly and use: Click here
Additional components are required to build the complete project. A complete list of the required parts can be found here
Required tool:
| Number | Link |
|---|---|
| 1x | Screwdriver set Buy at Amazon |
| 1x | Soldering iron Buy at Amazon |
Required material:
Gallery


3D printing information
The recommended 3D print settings are listed below.
- Filament type: e.g: PLA
- Layer thickness: 0.2mm
- Infill: 15%
- Wall lines: 2
ESPHome example configuration
You can find an example configuration for ESPHome under the following link:
Videos
No videos are available yet.
Dimensions
Below you can see an overview of the usual dimensions of the product. If dimensions are missing, please let us know contact form let us know and we will add this later.

Circuit diagram

File list
- ink_holder_X.stl
- eInk_holder_back_insert_X.stl
- esp32_clamp_X.stl


Reviews
There are no reviews yet.