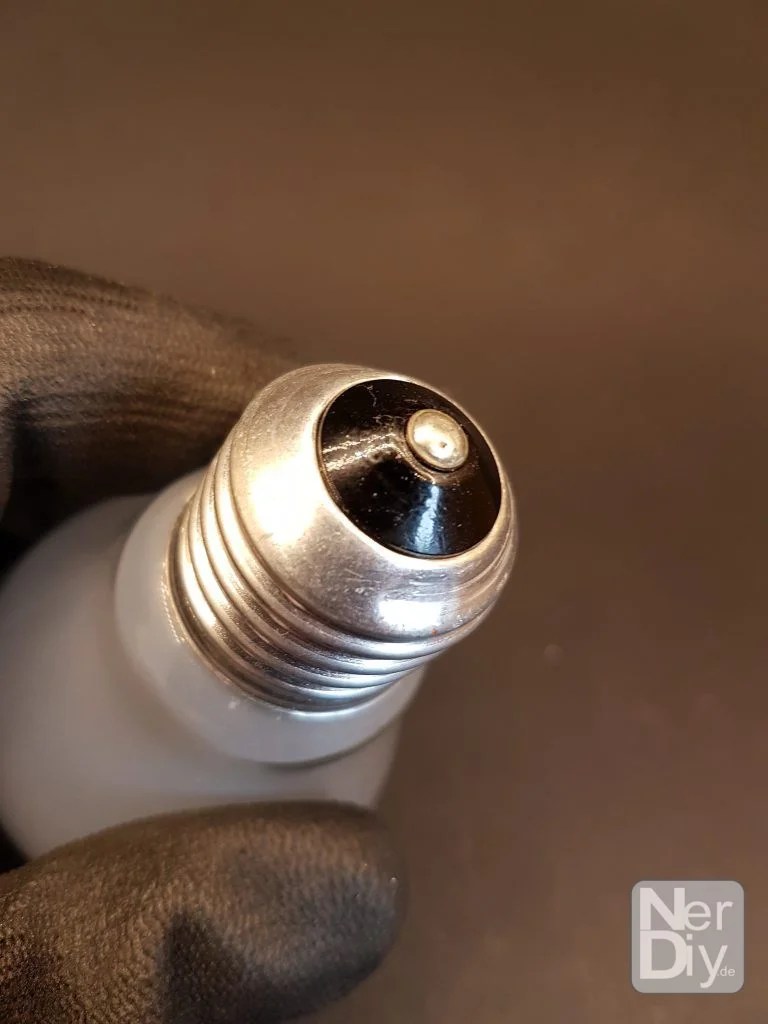
In some articles it has already been pointed out that old incandescent lamps can be given a new "lamp life" quite well. However, in almost all cases, the filament, its holder and parts of the threaded base must be removed.
How you can do this is described in the following article.
Safety instructions
I know the following notes are always kind of annoying and seem unnecessary. Unfortunately, many people who knew "better" have lost eyes, fingers or other things due to carelessness or injured themselves. Data loss is almost negligible in comparison, but even these can be really annoying. Therefore, please take five minutes to read the safety instructions. Because even the coolest project is not worth injury or other trouble.
https://www.nerdiy.de/sicherheitshinweise/
Affiliate links/advertising links
The links to online shops listed here are so-called affiliate links. If you click on such an affiliate link and make a purchase via this link, Nerdiy.de will receive a commission from the relevant online shop or provider. The price does not change for you. If you make your purchases via these links, you support Nerdiy.de in being able to offer other useful projects in the future. 🙂
Requirements
Required material:
In the following list you will find all the parts you need to implement this article.
Required tool:
In the following list you will find all the tools you need to implement this article.
Security
Especially with work like this, it is even more imperative to pay attention to safety! It is very likely that one or perhaps several bulbs will break during the first attempts. For this reason, it is imperative that sufficient thick gloves, a Garment that covers the arms and a Safety goggles an.
Please be conscientious and careful in your work and do not join the ranks of people who today say "Oh, I wish I had invested five seconds to take safety precautions back then."

Remove foot contact
The only sensible way into the glass body of an incandescent lamp is via the screw contact. This also contains the two contacts through which the energy is supplied to the incandescent lamp. These are called the ring contact and the base contact. Of these two, the foot contact can be removed relatively easily and thus allows access to the glass body.


Remove the lower part of the glass bulb
After the foot contact is removed, it is relatively easy to get to the bottom of the glass bulb.


Pierce vitreous body
Now comes the most critical part. Now you have to break a first hole into the glass body with a screwdriver.


Increase implementation
After you have pierced the glass body, you can now enlarge this hole with a screwdriver.


Clean
Removal of the last glass fragments.


Possibilities
By the way, this procedure also works with other bulb shapes 🙂 .
Have fun with the project
I hope everything worked as described for you. If not or you have questions or suggestions please let me know in the comments. I will then add this to the article if necessary.
Ideas for new projects are always welcome. 🙂
PS Many of these projects - especially the hardware projects - cost a lot of time and money. Of course I do this because I enjoy it, but if you think it's cool that I share the information with you, I would be happy about a small donation to the coffee fund. 🙂


