The great/practical thing about the concept behind Arduinos is that in many cases you can benefit from the work of others.
It almost doesn't matter which sensor you want to read or which actuator you want to control: someone else has probably already done this before you. Most of the time, these people have written libraries that make working with the sensors/actuators easier. These libraries were often published as open source projects.
This means that you can actually find corresponding libraries for almost every piece of hardware that you can connect to the Arduino.
These then just have to be integrated into the Arduino IDE and you can get started.
How to add libraries in the ArduinoIDE is explained in the following article.
Contents
Safety instructions
I know the following notes are always kind of annoying and seem unnecessary. Unfortunately, many people who knew "better" have lost eyes, fingers or other things due to carelessness or injured themselves. Data loss is almost negligible in comparison, but even these can be really annoying. Therefore, please take five minutes to read the safety instructions. Because even the coolest project is not worth injury or other trouble.
https://www.nerdiy.de/sicherheitshinweise/
Affiliate links/advertising links
The links to online shops listed here are so-called affiliate links. If you click on such an affiliate link and make a purchase via this link, Nerdiy.de will receive a commission from the relevant online shop or provider. The price does not change for you. If you make your purchases via these links, you support Nerdiy.de in being able to offer other useful projects in the future. 🙂
Requirements
Before you start you should have downloaded and installed the ArduinoIDE.
How this works is described in the following article:
Downloads/Uploads – How data comes from the Internet and disappears again
Install programs - an example
Basics of navigating in Windows Explorer
You can find general tips for the Arduino IDE in the article ArduinoIDE - Tips and Tricks
Automatic installation via the Arduino IDE
Automatic library installation is the easy way to install an Arduino library. Unfortunately, this is not possible for all libraries. Nevertheless, it is always easiest to check the automatic installation option first. If the library cannot be found, you can still install it manually. More on that later.
For automatic installation you have to switch to the ArduinoIDE.


To install, simply click on “Install” and the selected library will be installed.
Manual installation via Windows Explorer
Manual installation of a library is always necessary if the library was not found during the automatic installation. Even if you want to install several libraries, it is often easier/quicker to install them “in one go”, as this is done using a simple copy process.
No matter where the library comes from, before it can be installed you must first download it to your computer.
As an example, the Neopixel library from Adafruit is installed here.
You can find these under https://github.com/adafruit/Adafruit_NeoPixel
Now download the entire contents of the GitHub directory. How to do this is in the article GitHub - How do I copy files from a GitHub to my computer? described.
Then unzip the downloaded zip file (the GitHub directory) to a location of your choice.
You can find information about unpacking an archive in the article WinRar? WinZip? WinWhat? - Honey I shrunk the files

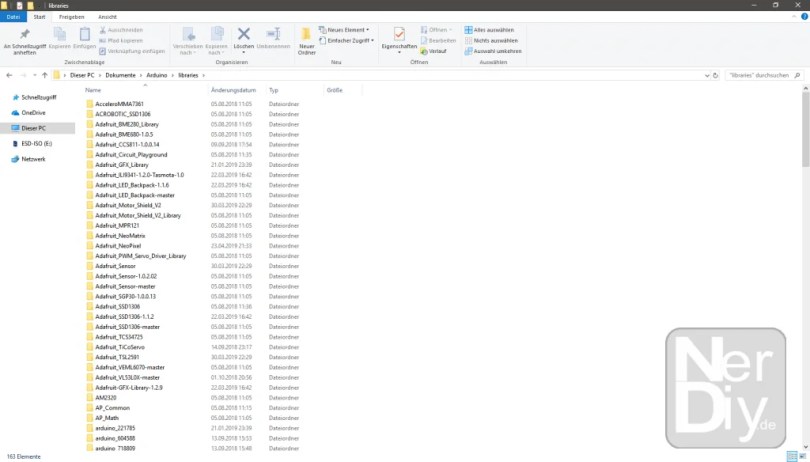
Mostly under:
C:Users\%USERNAME%DocumentsArduinlibraries
Then you have to restart the Arduino IDE - if it is already running. This will load the new libraries and display any existing examples in the ArduinoIDE. You should then be able to use the libraries.
Please remember to contact the respective library if necessary
#include
into your Arduino project. This is the only way you can really use the functions of the new library.
Have fun with the project
I hope everything worked as described for you. If not or you have questions or suggestions please let me know in the comments. I will then add this to the article if necessary.
Ideas for new projects are always welcome. 🙂
PS Many of these projects - especially the hardware projects - cost a lot of time and money. Of course I do this because I enjoy it, but if you think it's cool that I share the information with you, I would be happy about a small donation to the coffee fund. 🙂


