

Flashing the ESP8266 or ESP32 is not so easy if you have not had much contact with microcontrollers before.
However, there is now something very cool that makes this process super easy. The people behind ESPhome have a web flasher which allows you to flash ESP microcontrollers directly from a Google Chrome browser. Without installation and configuration effort. What's even cooler is that they are making the tool available for free so that others can use it too.
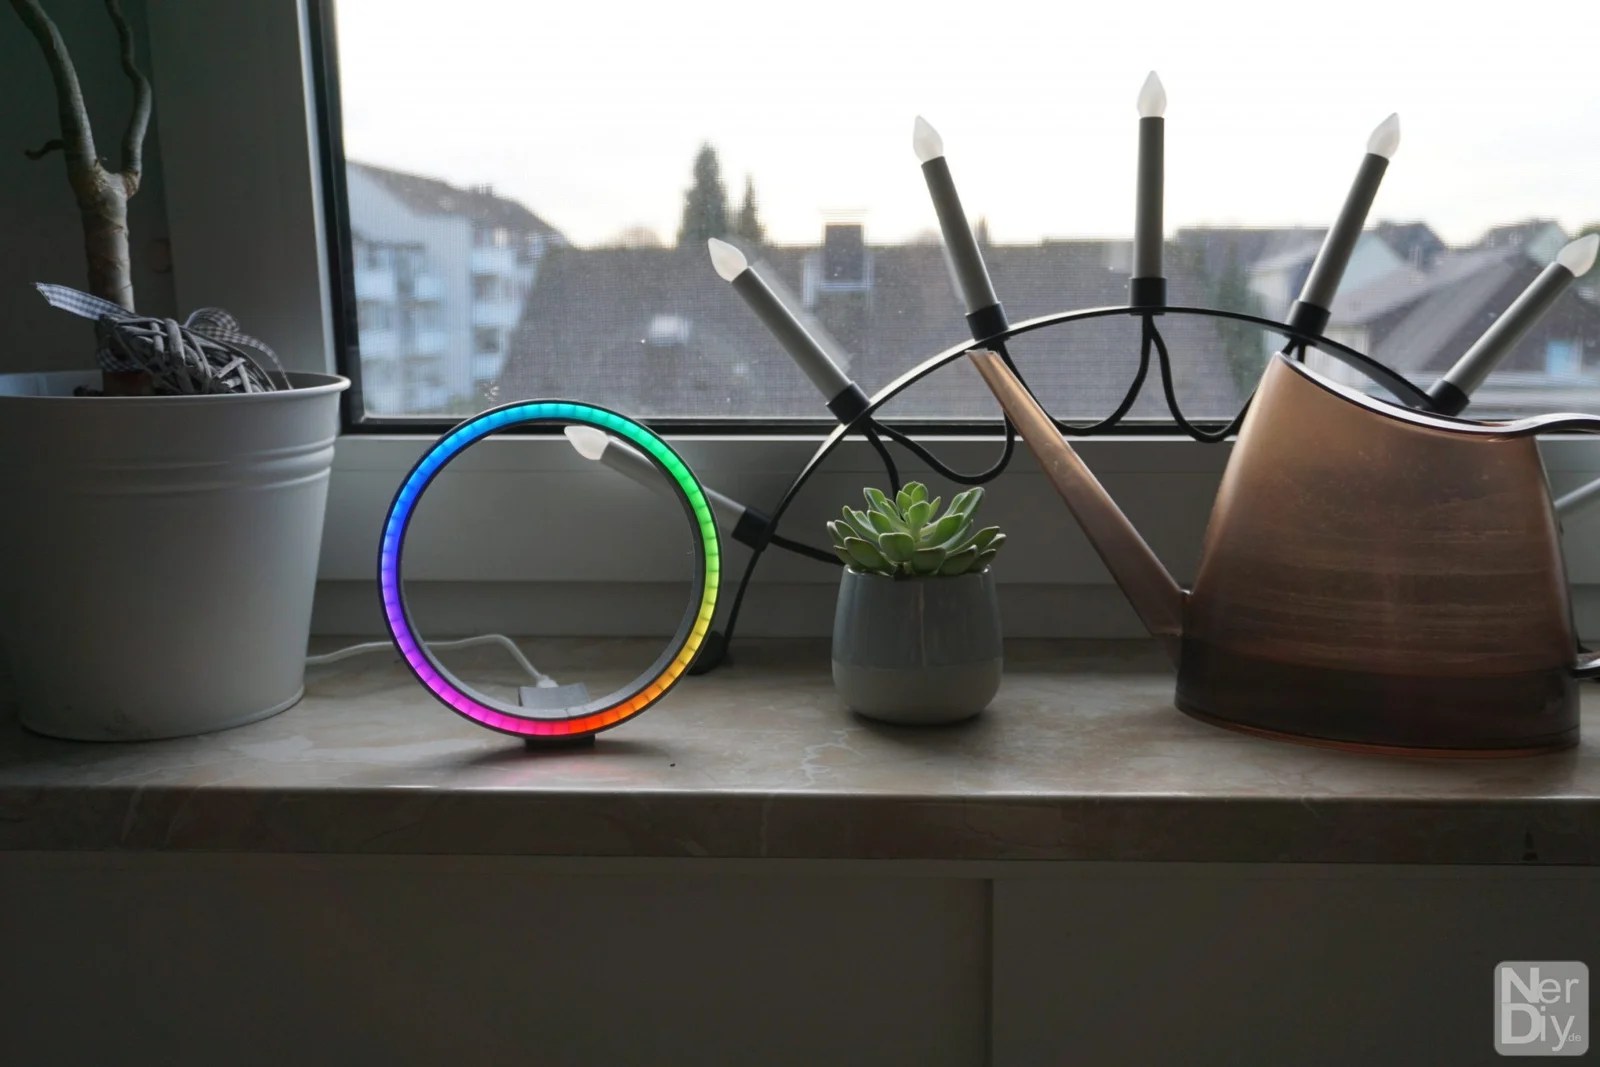
You can now use the pxlBlck firmware without great effort directly from the Google Chrome Browser flash.
For those who want to get started right away: Click on the button below and give it a try!
For those of you who want more details, I have included the Flash firmware step by step prepared illustrated instructions.


Requirements
So that you can program your pxlBlck, you should of course have already prepared the hardware accordingly. There are several ways to do this. You will find a few examples in the following section. A complete list of all possible platforms can be found under the following keyword


Flash firmware step by step
You should have already connected your ESP to the computer for the flashing to work.

Then click on the button
- Flash pxlBlck firmware

A menu should pop up in which you have to select the appropriate serial port.

Then click on the text shown on the left.

Before the flash process starts, you can select whether you want to delete all the contents of the ESP before the flash process starts.
Click on to continue
- Next

To start the flash process, you must now click on
- Install
click

The flash process then starts and ...

... the progress is displayed.

As soon as the flash process is complete, you should see the view shown.
Then click on
- Next
um ...

... to open the console, for example.

Here you can now configure the ESP directly and see the log output.

If desired, you can also restart the ESP here.

If you want to leave the flasher, simply click on
- Bake
respectively
- click the X in the top right corner.
Many thanks to the ESPHome team for this really handy tool! You can find more information under the following link.
pxlBlck Usecases
Articles are listed under the tag "pxlBlckUsecase" in which you can find examples of use. It also explains how you can configure your pxlBlck accordingly.
Animations, icons and commands
More information about the display of animations, icons and the possible commands with which you can configure your pxlBlck can also be found in the following articles.
- pxlBlck - Configure and display animations
- pxlBlck - design icons, transfer them to the pxlBlck and display them
- pxlBlck - Commands for configuring the pxlBlck
Have fun with the project
I hope everything worked as described for you. If not or you have questions or suggestions please let me know in the comments. I will then add this to the article if necessary.
Ideas for new projects are always welcome. 🙂
PS Many of these projects - especially the hardware projects - cost a lot of time and money. Of course I do this because I enjoy it, but if you think it's cool that I share the information with you, I would be happy about a small donation to the coffee fund. 🙂
![]()
![]()